Under-Deck Waterproofing Retrofit: When You Can Add It Without Rebuilding the Whole Deck
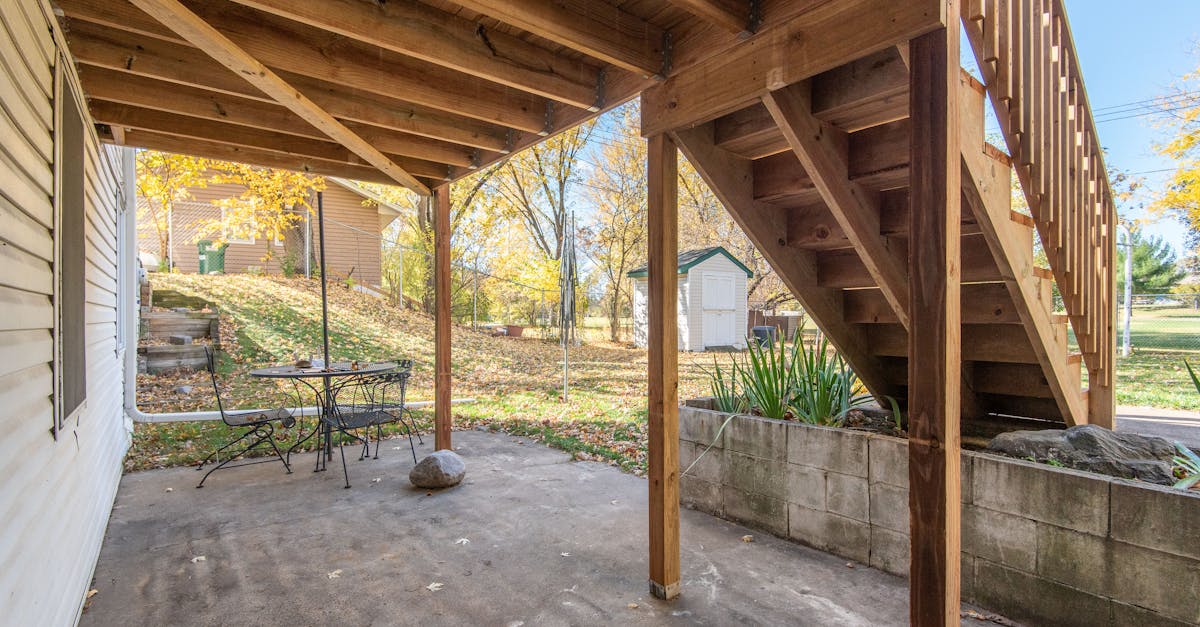
Picture this: your deck is your favourite summer hangout, yet the space beneath stays muddy, cluttered, and totally wasted after every rain. You may be wishing for a dry, finished area underneath for storage or a cozy retreat, but the idea of tearing up your existing deck is a dealbreaker. The great news is that it’s often possible to retrofit under-deck waterproofing—no full rebuild needed—if your structure is in solid shape. The process isn’t just about comfort. It also extends the life of your deck, makes cleanup easier, and can even help protect your investment from costly water damage.
Why Consider Under-Deck Waterproofing Now?
If you’re noticing water dripping down onto stored items, mud splatter on your siding, or mildew patches under your deck, you’ve got a classic under-deck moisture problem. It doesn’t just make that space unusable after storms; it can cause the deck’s support structure to rot out long before the boards themselves are done. By tackling waterproofing as a retrofit, you not only gain usable space but also shield your joists, beams, and posts, potentially adding decades to your deck’s lifespan. Plus, you’ll be well on your way to a more versatile, low-maintenance backyard—especially if you’re the type who loves DIY deck building and smart upgrades.
Can You Retrofit Under-Deck Waterproofing Without a Rebuild?
Yes, in many cases retrofitting is both practical and effective—assuming your deck’s bones are healthy. Here’s when retrofitting works best:
- Deck Height: Elevated decks with at least 5 feet of headroom underneath make access and installation much easier.
- Deck Boards: If your top boards are solid and securely attached, and there’s reasonable access from below, most undermount systems can be installed without disturbing them.
- Joist Condition: No major rot or sagging. It’s crucial to inspect the joists for soft spots and repair as needed first.
- Joist Spacing and Slope: Typical 12–16 inch spacing and a gentle slope away from the house support proper drainage.
- Ventilation: Open skirting or airflow under the deck helps avoid condensation buildup and keeps the system dry.
If your deck is basically sound, you don’t have to start from scratch—just choose the right system and install with care. If you notice signs of structural issues, thoroughly address those before moving forward. We always suggest reviewing the basics on DIY deck building to make sure your frame and joists are ready for a waterproofing upgrade.
Popular Retrofit-Friendly Waterproofing Options
Some waterproofing products require access above the joists (which means lifting the deck boards—hardly a retrofit!), but several high-performing undermount systems are specifically designed for installs from below. Here’s what we see most often on successful retrofits:
- Undermount Panel Systems (like ZipUp UnderDeck): These vinyl or PVC panels install beneath the joists to create a barrier and channel water into a gutter system. They double as a finished ceiling and are popular for turning under-deck areas into patios or storage.
- EPDM Rubber Membranes: Flexible rubber sheeting can be fastened under the deck, sloped toward a gutter, and sealed at seams. While more labor-intensive—and best suited to strong DIYers—it can be a cost-effective option for simple drainage needs.
- Proprietary Drainage Channels: Some systems use prefabricated troughs or rails to direct water, then add ceiling panels below. Be sure the system you pick is rated for retrofits and suits your joist spacing.


Step-by-Step: Retrofitting Under-Deck Waterproofing
If you love a DIY challenge, here’s how retrofitting under-deck waterproofing typically looks with panels like ZipUp or similar systems. This walkthrough assumes a deck in solid, repair-free condition and moderate DIY skills:
- Inspect and Prep the Area
- Clear out debris beneath your deck, and check that joists are free of major rot. Replace or reinforce as needed.
- For best longevity, apply G-Tape joist tape to the tops and ends of the joists to prevent future wood rot. This is a simple, effective step most pros won’t skip, and you’ll find it mentioned in almost every expert guide.
- If you’re unfamiliar with these types of deck projects, check out our DIY deck building resources for background on safe repairs—don’t proceed if the structure is compromised!
- Plan Drainage Paths
- Determine the slope you’ll need for effective run-off—typically 1/8 to 1/4 inch per foot away from the house is ideal.
- Decide where downspouts or drains will exit, then ensure you have open skirting or access for water outflow. Avoid fully closed-off spaces.
- Install Support Rails (if using ZipUp or similar systems)
- Fasten vinyl main rails or furring strips lengthwise to the bottom of the joists, spaced per product specs.
- Take time to ensure a consistent, shallow slope—it’s key for smooth drainage and avoids standing water or sagging panels.
- Add Panels or Membranes
- ZipUp and comparable panels lock into rails or tracks, often snapping in place and overlapping for leak resistance.
- When using EPDM or similar membranes, start at the house side, ensuring each membrane overlaps and seals tightly at seams with butyl tape.
- Install Downspouts and Gutters
- Add plastic or metal gutters below your drainage runs, sloped to route water away from your foundation or into your yard’s drainage system.
- Seal All Joints and Edges
- Apply butyl tape over all seams for extra leak protection. Finish with caulk at the outer edges, and add ZipUp UnderDeck Wall Trim or similar trim for a clean, professional look.
- Test the System
- Pour water across the deck from above, watch for leaks, and adjust the panels or slope as needed. It’s worth taking extra time here—addressing issues now is far easier than after your storage or seating is finished below.
Planning a more ambitious project or want to see how these steps play out in more detail? Review our broader DIY deck building tips for step-by-step layouts, joist repair advice, and links to essential tools and material calculators.
Smart Tips and Mistakes to Avoid
- Don’t Skip Joist Tape: Even if your joists look good now, future leaks or condensation could shorten their life if left unprotected. Taping is affordable insurance.
- Clear Gutters Regularly: Under-deck systems are only as maintenance-free as their drainage paths. Clean gutters and downspouts of debris and check for clogs, especially after storms or fall leaf drop. Our deck maintenance checklist will keep you on track all year.
- Avoid Wrinkles or Sags: Panels or membranes must be installed smoothly, with all seams tightly sealed, to prevent standing water.
- Double-Check Local Codes: If you’re enclosing the space or adding electrical (such as under-deck lighting or outlets), contact your local building office for any permit requirements before you begin.
- Plan for Airflow: Good ventilation under the deck keeps humidity from building up and prevents future moisture issues.
When Not to Retrofit—And How to Know
While most higher decks with open access can accept an undermount waterproofing system, there are times when a retrofit isn’t a good idea:
- Low clearance, which makes installation almost impossible (generally less than 5 feet).
- Major joist or beam rot. Fix structural problems first—never cover up decayed wood!
- Persistent debris buildup between boards (like heavy leaf drop in wooded yards) that’s hard to maintain from above.
- No feasible place to drain water away safely from the house.
In these cases, it may be better to invest in repairs or a partial rebuild. We always advise reviewing your DIY deck building know-how or booking a consult before making big changes.
Where to Find the Right Retrofit Supplies
For most retrofits, you’ll want the following on your supply list (links included where available):
Don’t forget standard safety gear, a caulking gun, level, and sharp utility knife. If you’re light on tools or want a faster install, remember that tool rental is available at our Regina and Saskatoon shops—perfect for one-off jobs.
For the DIY-Minded: Further Reading & Internal Resources
- See our 5 mistakes to avoid when creating a dry under-deck area if water is already a problem each spring.
- If you suspect leaks or drainage confusion, check our troubleshooting guide: How to diagnose and fix under-deck drips before snow melt.
- Not sure which products fit your project? Start with our easy Deck Budget Calculator.
- And always review DIY deck building fundamentals if doing joist repairs or structural checks during your retrofit.
A Personal Touch—Why We Believe in Proper Waterproofing
We’ve worked with thousands of deck owners across Saskatchewan and beyond, and we’ve seen firsthand how a simple drainage upgrade can transform a muddy under-deck space into real, usable square footage. Our team truly believes in these systems because they extend deck life, prevent big headaches, and make outdoor spaces more flexible for every lifestyle. And from our reviews, it’s clear customers notice the quality and expertise every step of the way. If you’re ever unsure about which approach is right for your setup, don’t hesitate to reach out for guidance—our experience is what sets The Ultimate Deck Shop apart, and we’re always here to help you get your project right the first time.
Planning your under-deck project? Visit our store online or in person for expert advice, specialty materials, and tool rentals to make your renovation smooth, safe, and lasting. Here’s to a drier, smarter, and more beautiful backyard—all season long.